2009
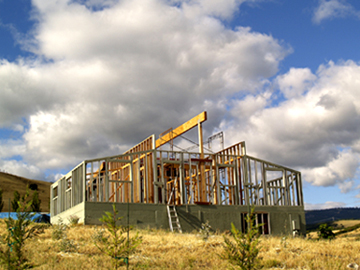 House framing 2009
Building Eric's House
Part 2
by Dorothy Ainsworth
It's hard to believe that more than a year has whizzed by since my first article in the series on "Building Eric's House" appeared in BWH (issue #112). Construction projects are notorious for taking twice as long as estimated, and this one is no exception.
During the dreaming and planning stage, ideal conditions are imagined, enthusiasm and energy are boundless, money flows freely, and optimism prevails, but when it comes right down to it, reality means hard work and a tight budget! Not that it isn't fulfilling, but whew!
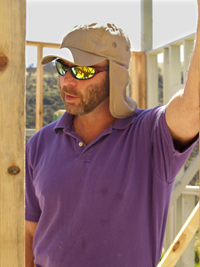
Eric is 46 and strong as an ox, the same age I was 20 years ago when I built my log house...and hard physical labor was no problem at all back then. Now his father and I are in our mid-sixties, and it's a little different story. Together we are the equivalent of one and a half good helpers (me being the half). It never occurred to me that someday I would be at a lesser capacity in strength and energy than I was in my 40's and 50's. Imagine that! But I feel fortunate we are still able to accomplish as much as we do, with the help of an occasional Motrin that is. I'm in denial, and I want to stay there.
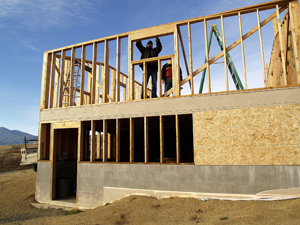
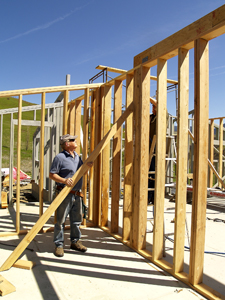
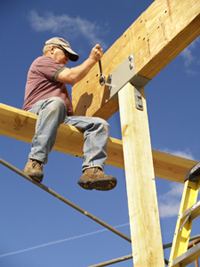
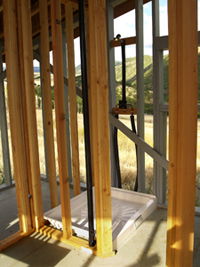
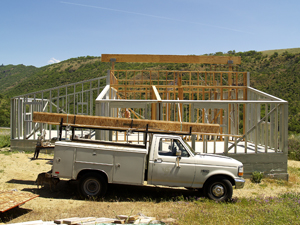
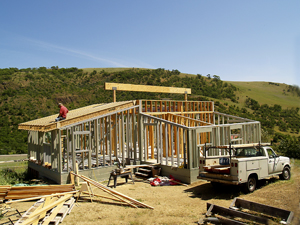
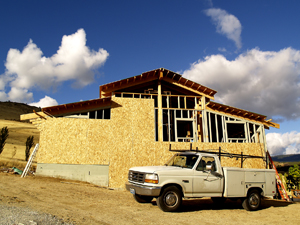
By June of 2009 we managed to put up all the inner and outer walls, the door and window openings and their respective headers, the ridge-beam, the bedroom roof, and get the rough plumbing done.
Lumber was still recession-cheap in June, so Eric stocked up on all the 2"x12" BCI rafters (Boise-Cascade I-Joists), and the 5/8" OSB sheathing (Oriented Strand Board) for the entire house (2 units of 57 sheets each).
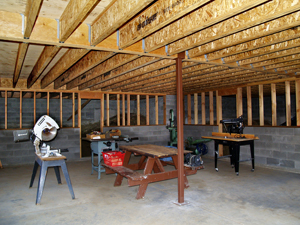 Basement covered
 Rafters & OSB stockpiled - June 2008
He will be at a standstill to buy any more materials until he saves up some money over the winter months tuning pianos by day and playing classical piano music at dinner houses at night. This past year his cash outlay has been about $6,000...not too bad for the amount of progress he's made.
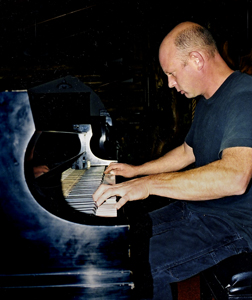
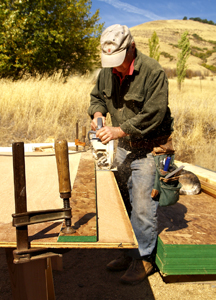
 Eric at work tuning
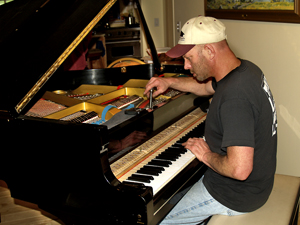
 Eric at work entertaining
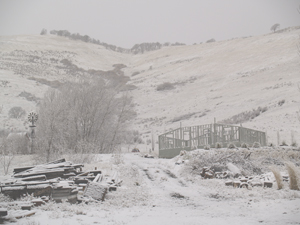
The first article ended in August 2008 with the house floor completed, which covered the basement. In the fall and winter of 2008 we raised a few outside walls in the cold and fog (see photo) but had to wait until spring 2009 for any more progress. We have freezing cold and windy winters, so a friend and I spray-painted the frame with 30 gallons of mismatched paint (free from a contractor) to protect it during the harsh weather.
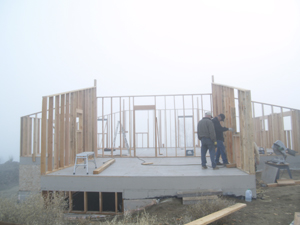 Cold & foggy
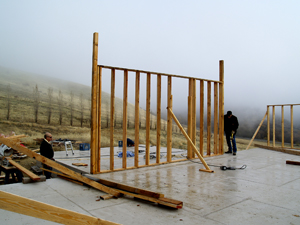 Winter 2008
 Basic frame up
 Spraying frame with paint before the storm
 It snowed the next day
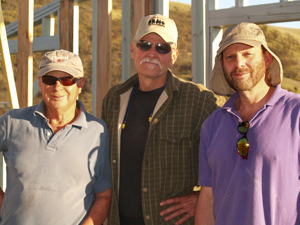
 The Three Housekateers: Ron, Doug, Eric
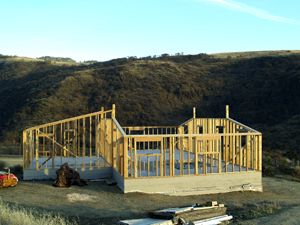
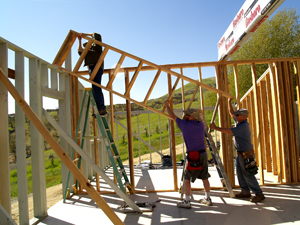
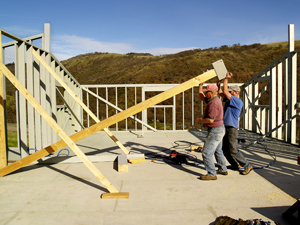
We resumed work in April 2009, raising more outside walls. Then in May we built and raised a few inner walls and installed door and window headers. Next, we built the pony walls on top of the living room walls, to support the shed roofs. In early June, Eric's dad and I put the roof on the bedroom wing by ourselves because Eric had the flu during the only week Ron was able to come up. In the middle of June Eric had the plumbing done by a professional to hasten progress and meet his late-June inspection deadline.
 Doug, Ron, Eric raise a wall
Building a new house is very exciting, but unfortunately we have to work fulltime for a living, and Ron lives in California, so we try to choreograph our building sprees when we can work together. Eric and I are doing the electrical wiring ourselves...a relatively easy and straightforward job and within our capability because all his major appliances will run on propane (water heater, range, and dryer). The plumber already provided the stub-outs for them, and the propane company will hook them up.
Some Construction Tips In The Framing Process
 Ron & Doug build a wall
 Squaring the studs
 Team-work to level & square each stud before nailing
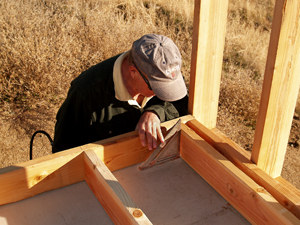
 Eric uses chopsaw
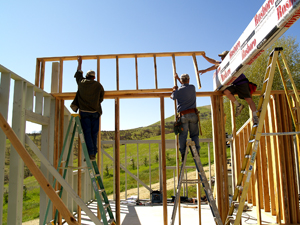
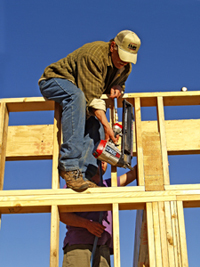
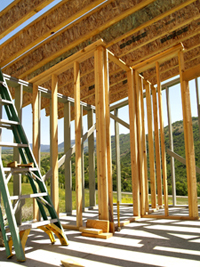
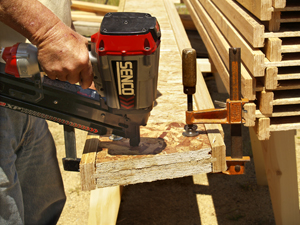
Wall Framing
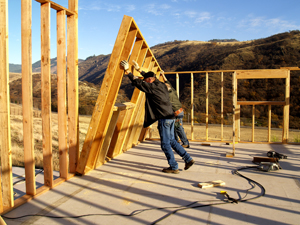
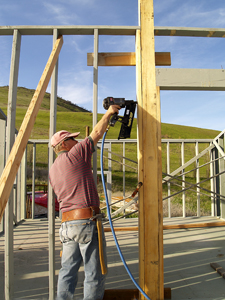
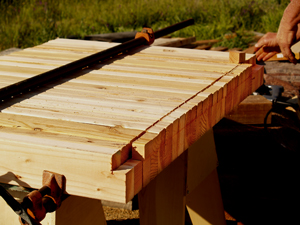
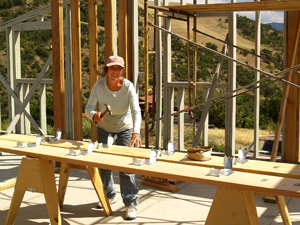
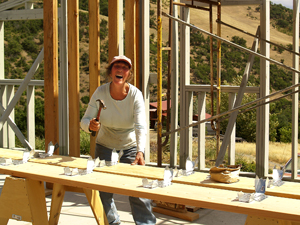
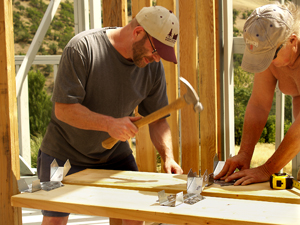
When laying out the wall framing on the floor, clamp the top and bottom plates together, perfectly lining up the sides and ends. Mark where the studs will go at 16" on-center (OC), with a line and an big X so you won't forget which side of the line to put the stud on. (The line should be marked at 15 1/4", and the X is where the stud will be, with its center at 16".) Then separate the plates on the floor parallel to each other eight feet apart or whatever the wall height is. Fasten the studs in place with the nail gun, making sure they are squared up as you go along. It helps to work as a team. One person holds the square at each junction and makes sure the stud and top plate surfaces are flush with each other, while the other person shoots in the framing nails.
 Basement & frame
 Installing window header
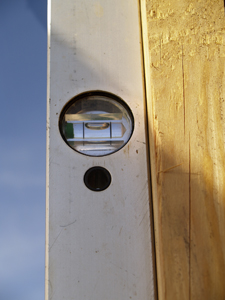 Perfectly plumb
 Eric plumbs a wall
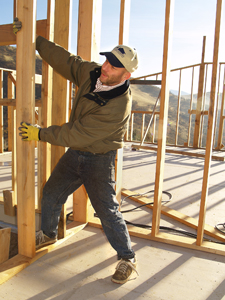
 Ron braces a wall to insure plumb, level & square
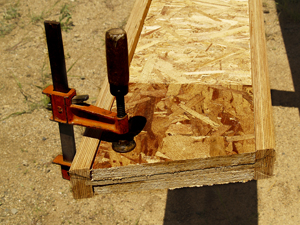
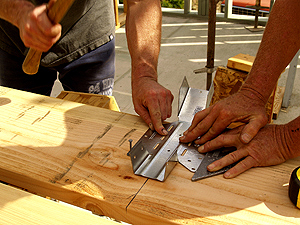
Headers
Headers span window and door openings to help support the roof load where the studs are omitted. Measure the span carefully so the header fits tightly, and fill in above it with short studs (cripples) spaced so the sheathing seams will meet over them. (Check code for correct header sizing.)
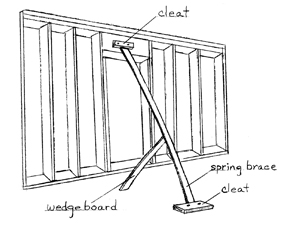
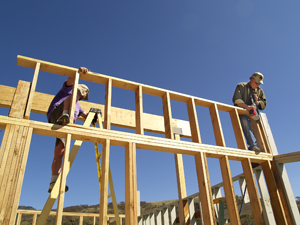
Wall Bracing
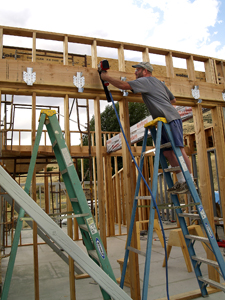
Wall bracing will keep your erected walls square and plumb until they are sheathed. Work around the perimeter of the house raising the walls one at a time (in sequence) and brace them from 2 directions if necessary as you fasten them to each other. Do the same with the inner walls, squaring and plumbing as you go. If you run into a problem with a wall that is bowed in or out (from a bird's eye view) even though the bottom plate is secured in a straight line on the floor, you can force the top of the wall into line. Fasten a cleat (short 2"x4") to the floor about 6-feet out from the middle of the wall, then wedge a long 2"x4" under the top plate at a stud junction, push on the bow in the wall until it's straight, and fasten the 2"x4" to the cleat with a nail gun. Again, it helps to work as a team. One partner pushes on the spring brace while reading the level for plumb, while the other nails the 2"x4" brace to the cleat. (See illustration.)
It's also prudent to nail a 2"x4" brace diagonally from top to bottom corners across the studs on each wall...to keep the wall from racking (turning into a slight parallelogram).
Double Top Plates
 Teamwork to fasten top plates
When all the walls are up, squared, and plumbed, nail on the second top plates. To tie the structure together, be sure to overlap the ends alternately where the walls meet at a corner. A long top plate can be a little curved and warped, so nail it on only a few feet at a time as you move along, aligning it perfectly with the first plate by using the free end as leverage to push or pull it into place.
Note: Ron is a big advocate of framing with green lumber. It's a little cheaper, and it's more pliable to work with if you need to force it into submission, such as correcting a twist or crown or bow. And when you shoot the big nails in, it doesn't split as easily as kiln-dried lumber.
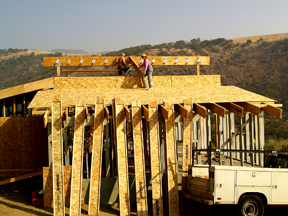
Pony Walls
 Ron, Uncle Dougie, & Eric
 Eric & Doug build a pony wall
Build pony walls on the floor, then raise them into place and attach them into position with the nail gun. Work as a team again, with one person at each end on a ladder or scaffolding.
 Raising a pony wall
 Securing pony wall
 Fastening pony wall
 Eric attaches top plate to pony wall
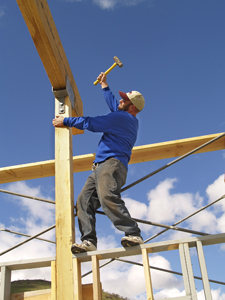
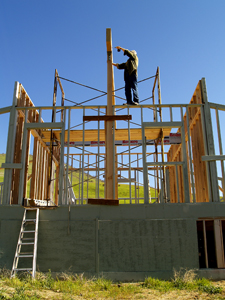
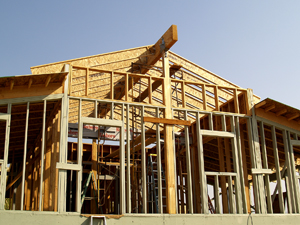
Ridge Beam and Cross Beam
Eric wanted a vaulted ceiling, so he decided to use a massive ridge beam to span the living room. A 5.5" wide by 18" deep by 28-feet long versa-beam was sized to meet code requirements (engineered is the buzz word) to freely span the 24-foot length of the living room, and to provide two feet of roof overhang at each gabled end. A versa-beam is made from dozens of thin, glued, and compressed plys of wood and thus is extremely strong and straight.
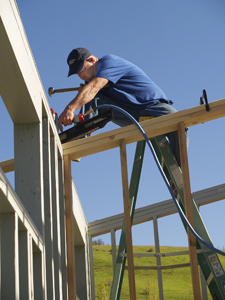 Eric works from tall ladder
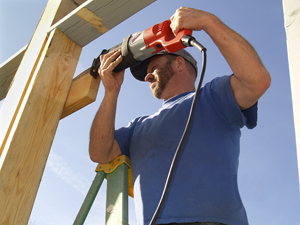 Eric removes brace with Sawzall
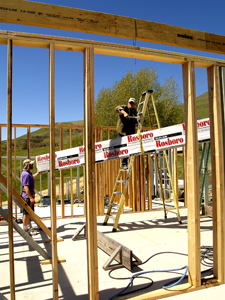
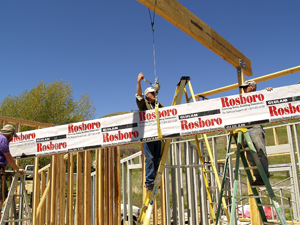
Eric's living room is 18 feet wide so he also needed a beam to freely span that 18 foot distance (wall to wall) and tie the two sides of the room together.
It was to be an exposed beam, so Eric chose a versa-lam beam (laminated 2"x6"'s) for aesthetic appeal. A versa-LAM is much more attractive and decorative than a versa-BEAM, but comparatively not as strong if the two are equally sized. To meet code, the lumber company's engineering charts required a 5.5" wide by 16" deep versa-lam to span the 18 feet.
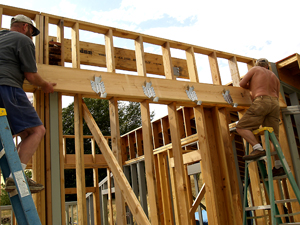
 Ron installs ridgebeam brackets on upright 4x6's
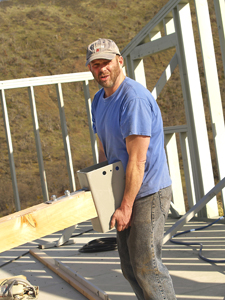 Eric
Eric
 Ron & Eric raise upright into position
 Ron attaches 2x6's to both sides of upright to secure it to framing
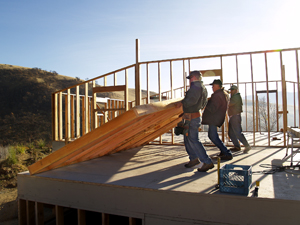
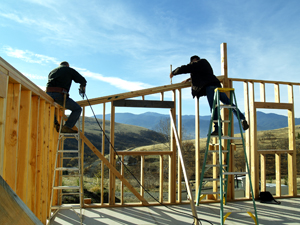
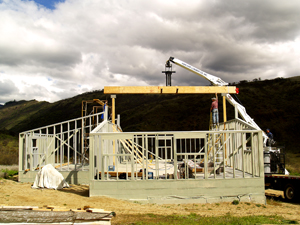
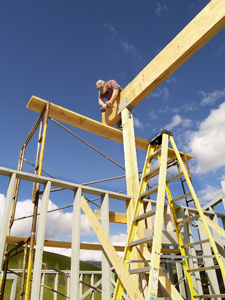
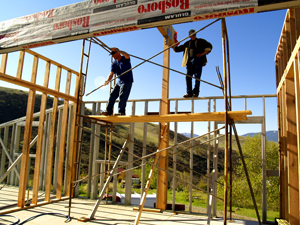
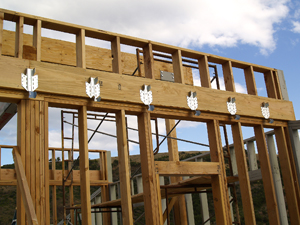
Setting the beams
Ashland Lumber delivered the beams on their boom truck instead of their regular delivery truck so they could set the ridge beam with a crane at no extra charge. The operator set it into the heavy brackets we had pre-attached on top of the upright 4"x6" posts at each end of the living room span. It fit perfectly, and Ron and Eric proceeded to bolt it in place.
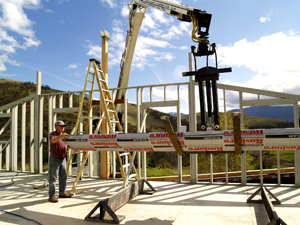
We had the operator set the versa-lam cross-beam on blocks on the floor. Later we hoisted it up with a come-along, and set each end on top of its respective wall, and sandwiched it in between the pony wall framing. We left the protective cover on to deflect the brutal summer sun.
 Crane sets ridgebeam
 Crane delivers crossbeam
 Eric sets ridgebeam into bracket
 Ron drills bolt holes
 Ron installs bracket bolts
 Doug installs bolts in other end of ridgebeam
 Lifting crossbeam with come-along
 Eric & Doug put crossbeam into its final place
 Eric & Doug assemble scaffolding cross-braces
 Nailing on pony walls
 Eric & his Dad
 Doug secures crossbeam between pony walls
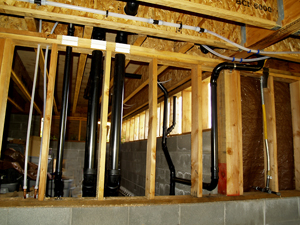
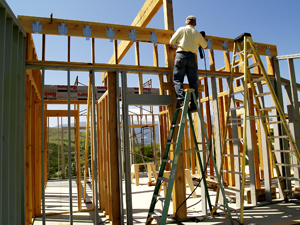
Next came the rest of the inner wall framing, which we completed in a day. The walls for the entrance way, bathrooms, closet, den, and kitchen area had to be up so the plumber would know where to put all the pipes, drains, toilet flanges, and vents.
 Eric & Ron build pony wall
 Trying to beat the summer heat
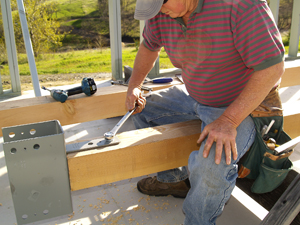
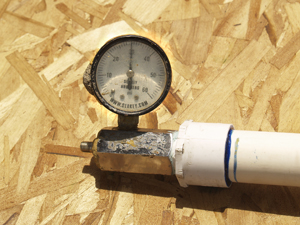 Pressure gauge to detect possible leaks at glued seams in PVC pipe
Water Source
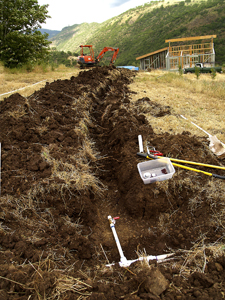 Trench from main waterline to house
For Eric's water supply to the house, we had to hire a backhoe man to dig a 2-foot deep trench 150 feet long to the main water line. He used a narrow bucket and made short work of the job (2 hours). He left his backhoe overnight to give us time to glue together seven 20-foot sections and one 10-foot section of schedule-40 PVC pipe, and to pressure test it for leaks. We pumped the pipe full of air with a bicycle tire pump attached to a gauge. There were no leaks, so we slid that pipe inside of 150 feet of 2" PVC pipe to protect it from rocks, and finally rolled it into the trench. I shut the water off and nervously cut into the main PVC water line and successfully (whew) attached Eric's line to it with a PVC telescoping slip joint and a tee. Don came back the next day and covered the trench up. As a friend he gave us a deal. He asked for only $150 but we paid him $200. It was worth every penny!
 Bedroom closet framing
 Shower pan
 Vent pipes in bathrooms
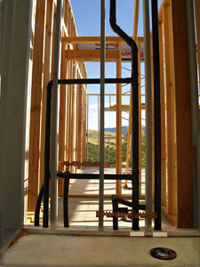
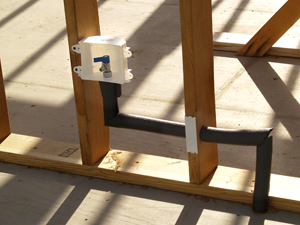
The Plumbing
Eric found a good plumber by word-of-mouth recommendation from satisfied contractors, and got an estimate. It seemed shockingly high because we aren't used to paying for outside labor, but after checking around a bit, we came to the conclusion it was actually considered reasonable by people in the biz. So Eric scheduled the work. It ended up costing $2400 for plumbing supplies and labor, which included the PEX water lines and iron pipe gas lines. Todd finished the job in four days and the inspection passed with flying colors, so that expenditure was also worth it. "Buy quality and cry only once" is an old saying I try not to forget.
 Ice-maker plumbing for refrigerator
 Back to back bathroom plumbing
 Water lines & vents in basement for washer & water heater
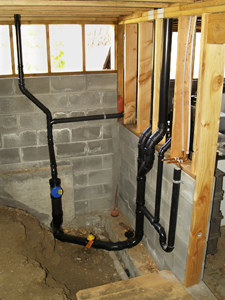 Drains & vents in basement
 Ron installs bedroom rafter brackets on ledger board
Roofing the Bedroom
 Bedroom rafters on truck
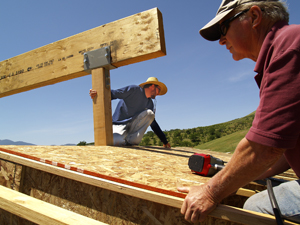
Ron and I installed the adjustable-pitch brackets at 16" on-center along the 18 foot 2"x12" ledger board that would be fastened to the pony wall on the high end of the shed roof over the bedroom. The brackets would hold 2"x12" BCI rafters. We chose BCI's because they are strong, straight, and have a wider rail (edge) than dimensional 2"x12"'s. If you are off a little where 2 sheets of OSB sheathing come together, there's 2.25" leeway rather than only 1.5" as on standard lumber. They are lighter weight and easier to handle than dimensional lumber, and they don't twist, shrink, or split. And compared to regular 2"x12"'s, they can bridge greater spans without deflection.
 Ron installing ledger board
 Board with brackets up in bedroom
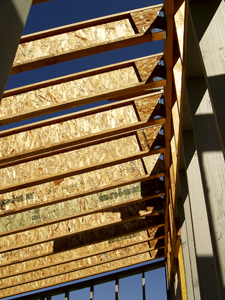
The drawback to BCI's are that they are engineered like a capital "I" with two rails and a skinny web in between. The web requires a web stiffener wherever you have to attach the ends to anything. To fill out the web and make it flush with the rail, we had to nail on a piece of 7/8" OSB on each side of the web. It was a little time-consuming, but I still prefer BCI's to dimensional 2"x12"'s. They are consistent and eliminate other problems such as crowns, dips, twists, and splits.
 Clamped-on web-stiffener
 Nailing on web-stiffener
 Roof-angle cut-off jig clamped on rafter
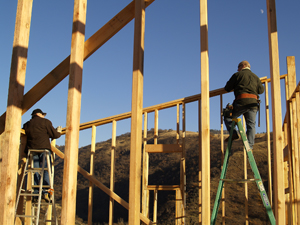
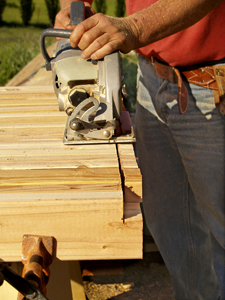
Ron made a simple jig so we could cut the correct roof angle on the web stiffeners en masse. Ron also used it to cut the roof angle on the ends of the rafters...plumb cuts and tail cuts... quickly and accurately.
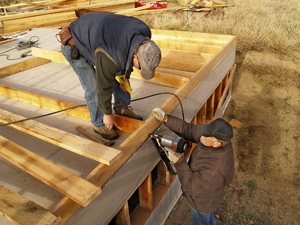
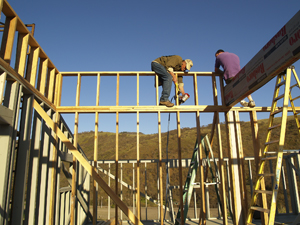
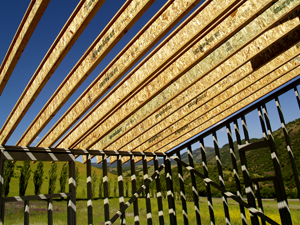
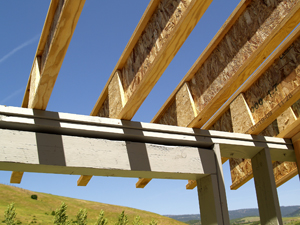
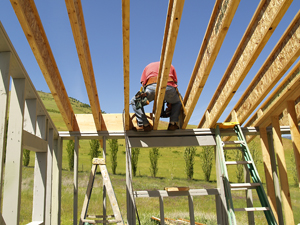
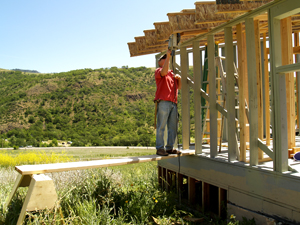
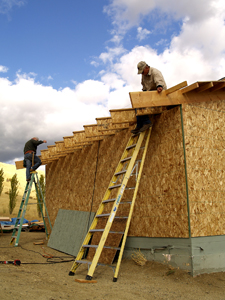
We installed the roof rafters (BCI's) by fastening them into their adjustable-pitch brackets with 1 1/2" Teco nails. Teco nails (pronounced "teeco") are a thick diameter and fill the bracket holes securely to prevent flex or sag. They are driven in with a hammer. After we secured all the rafters at their heads and tails, we nailed in blocking between the rafters where they sat on the top plate. Then we notched two 2"x12" rafters to hold the lookouts (extensions to support roof overhang at the eves). We fastened one notched rafter on each side of the roof and then installed the lookouts (made from 2'x6"'s).
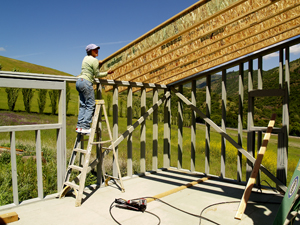 Dorothy helps Ron set rafters in place
 Bedroom rafters
 Web-stiffener on bracket end of rafters
 Web-stiffener on blocking-end of rafters
 Ron installs blocking
 Balancing act
 One-armed bandit
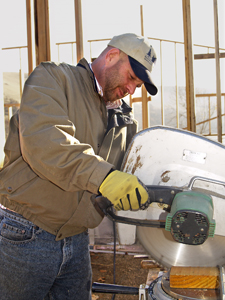
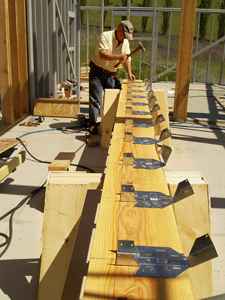
 Gang-cutting
 Gang-cutting
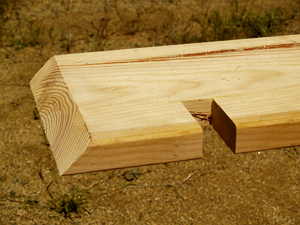 Notch for "look-out" in 2x12 rafter
Consistency is the key when cutting. Ron advises taking the time to make simple jigs to ensure accuracy and speed. He also recommends gang-cutting whenever possible, as in notching several pieces of lumber at once. He clamped several short 2"x6"'s together for use as look-outs and cut the notches in them all at once with a circular saw set at a shallow depth. The small notches had to be cut out to bypass the rail so the lookout would fit tightly against the web where it meets the web at a 90 degree angle.
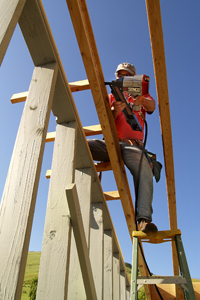
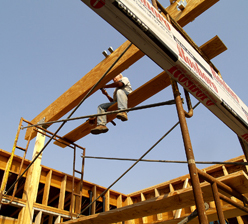
Ron then cut off the rafter tails at the roof angle, using the jig again, this time clamped in place on each of the 13 rafter ends as he went along. I was amazed that at 67 he could still use a heavy worm-drive Skill Saw repeatedly overhead with one arm, while balanced precariously on a 2"x12" bridge. I have to admit he's a better man than I am!
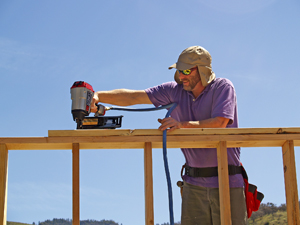
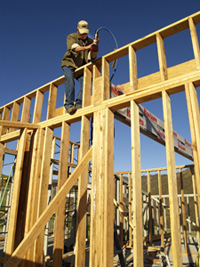
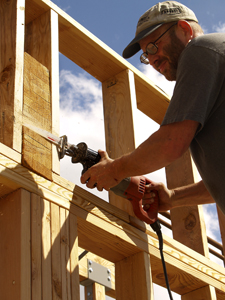
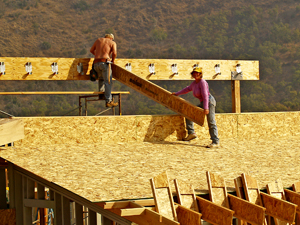
After I caught my breath just from watching, together we sheathed the entire roof with 5/8" OSB, staggering the joints and using 8-D deformed-shank nails at 6" apart around the edges, and 12" apart in the field...with the nail gun. (See the Unified Building Code book under Nailing Schedules.)
 Ron installing "look-outs" to support roof overhang
 Ron sheathing bedroom roof
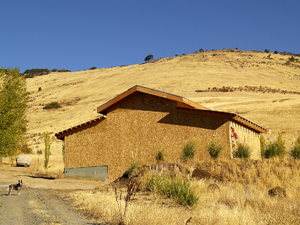
We'll eventually close in the overhang portion of the roof which shows the open rafters when you look up. Nailed-on sheathing, called a soffit, prevents birds' nests, wasps' nests, woodpeckers, spiders, and debris from collecting. Soffits create an attractive substantial-looking roof overhang on a house, and that's what Eric finds aesthetically pleasing.
 Dorothy installs roof-wing brackets on ledger boards
 Eric & Ron work as a team to accurately install rafter brackets
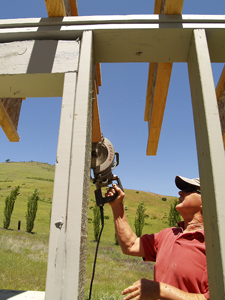
 Eric shaves off beam flush with wall
 Eric finishes the job with nail gun
 Eric & Ron install ledger board for lower roof "wings"
 Brackets ready to receive rafters
Eric recovered from the flu on the final day his dad was here and was able to help put up the four 12-foot ledger boards (with their rafter brackets pre-attached) that hold the rafters for the lower set of shed-roofs on the barn-style house.
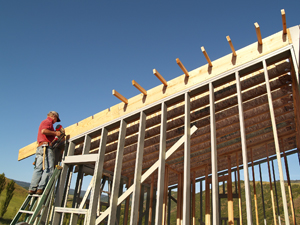
 Ron up in the stratosphere installing ridgebeam brackets for upper roofs
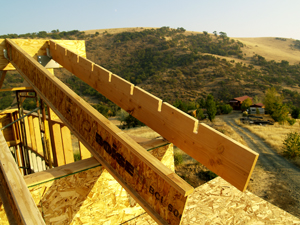
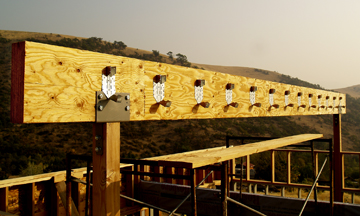 30-foot ridgebeam with rafter brackets
 "Outboard rafter" notched for "look-outs"
 Ron & Dorothy install upper-roof rafters
 Ron & Doug snap chalkline to cut off rafter tails
 Ron rips fascia boards using a clamped-on guide
Closing Comments
The county here in southern Oregon used to be more lenient but now frowns upon repeated extension requests on inspections that are required every six months. That's understandable. They don't want builders to start a house, then drag the construction out over years and years. They put a time limit on the permit, but work with the builder if good and steady progress is being made.
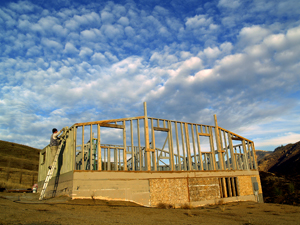
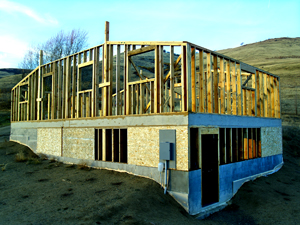
 Sealed up for the winter
We had no problem with timely foundation, basement, and floor inspections but the framing inspection is the most extensive of all. It has to include the rough plumbing and rough electrical, and before the electrical can be inspected, the roof has to be on! That's a lot of ands and expenses to crowd into a one-year period, especially since the weather here makes it difficult to work outside during mid-summer and mid-winter. Ideal working conditions aren't an option, so we have to do it by the county's deadline (December, 2009) or we may have to pay to renew the permit.
We'll do it.
 Dorothy's house, above left Eric's house, above right